
28 October 2026
How to Cut Perspex Sheets: Methods, Tools and Tips
Perspex is easy to cut once you know what the material wants: firm support, a sharp tool, controlled heat and a steady feed. Get any of those wrong and you end up with chipped edges, melted gum on the blade or a crack that runs straight through your part. This guide covers how to cut Perspex sheets using common workshop tools, and when it makes more sense to hand the job to a fabricator.
If you want a deeper look at crack prevention specifically, see our companion guide on cutting acrylic sheet without cracking. This article focuses on choosing the right method for the cut you actually need to make.
Before You Start: Prep and Safety
Good prep prevents most cutting problems. Perspex is a rigid acrylic that scratches easily and is notch-sensitive, so small defects at the start can become big ones by the end of the cut.
Keep the protective film on while you mark and cut. Wear safety glasses, because acrylic chips fly, and hearing protection when using power saws. Use dust extraction or a mask when sawing or sanding. Clamp the sheet on a flat surface and keep offcuts handy for testing your settings before you commit to the finished piece.
Method 1: Score and Snap (Thin Sheet, Straight Cuts)
For thin sheet, scoring and snapping is the quickest way to get a straight cut with no dust. Use a dedicated acrylic scoring tool, not a general-purpose blade. Run it along a clamped straightedge with firm pressure, making several passes until the groove is deep and consistent. Then position the score line along the edge of a bench, clamp the sheet down and apply sharp, even downward pressure on the overhanging side.
This works best on thinner sheet. As thickness increases the snap becomes less predictable, and a saw or router is a better choice. It is also unsuitable for curves or internal cut-outs.
Method 2: Saws for Straight and Curved Cuts
Jigsaw
A jigsaw is the go-to tool for curves and cut-outs. Fit a fine-tooth blade made for plastics, set the saw to a moderate speed with no orbital action, and guide it gently without pushing. Too much speed generates heat that melts the acrylic and welds the kerf shut behind the blade. Cut slightly outside your line and finish to the line afterwards.
Circular saw or table saw
For long, straight cuts in thicker sheet, a circular or table saw fitted with a fine-toothed, carbide-tipped blade (a triple-chip grind is ideal) gives the cleanest result. Support the sheet fully, set the blade so it only just clears the top of the material, and feed at a steady rate. If the blade is chipping the edge, it is usually too coarse or the sheet is not supported close enough to the cut.
Method 3: Routing and Machine Cutting
A hand router with a sharp, single- or double-flute cutter and a template or guide can produce a smooth, square edge and is useful for repeat shapes. Take multiple shallow passes rather than one deep cut, and keep the cutter moving so it does not rub and heat the edge.
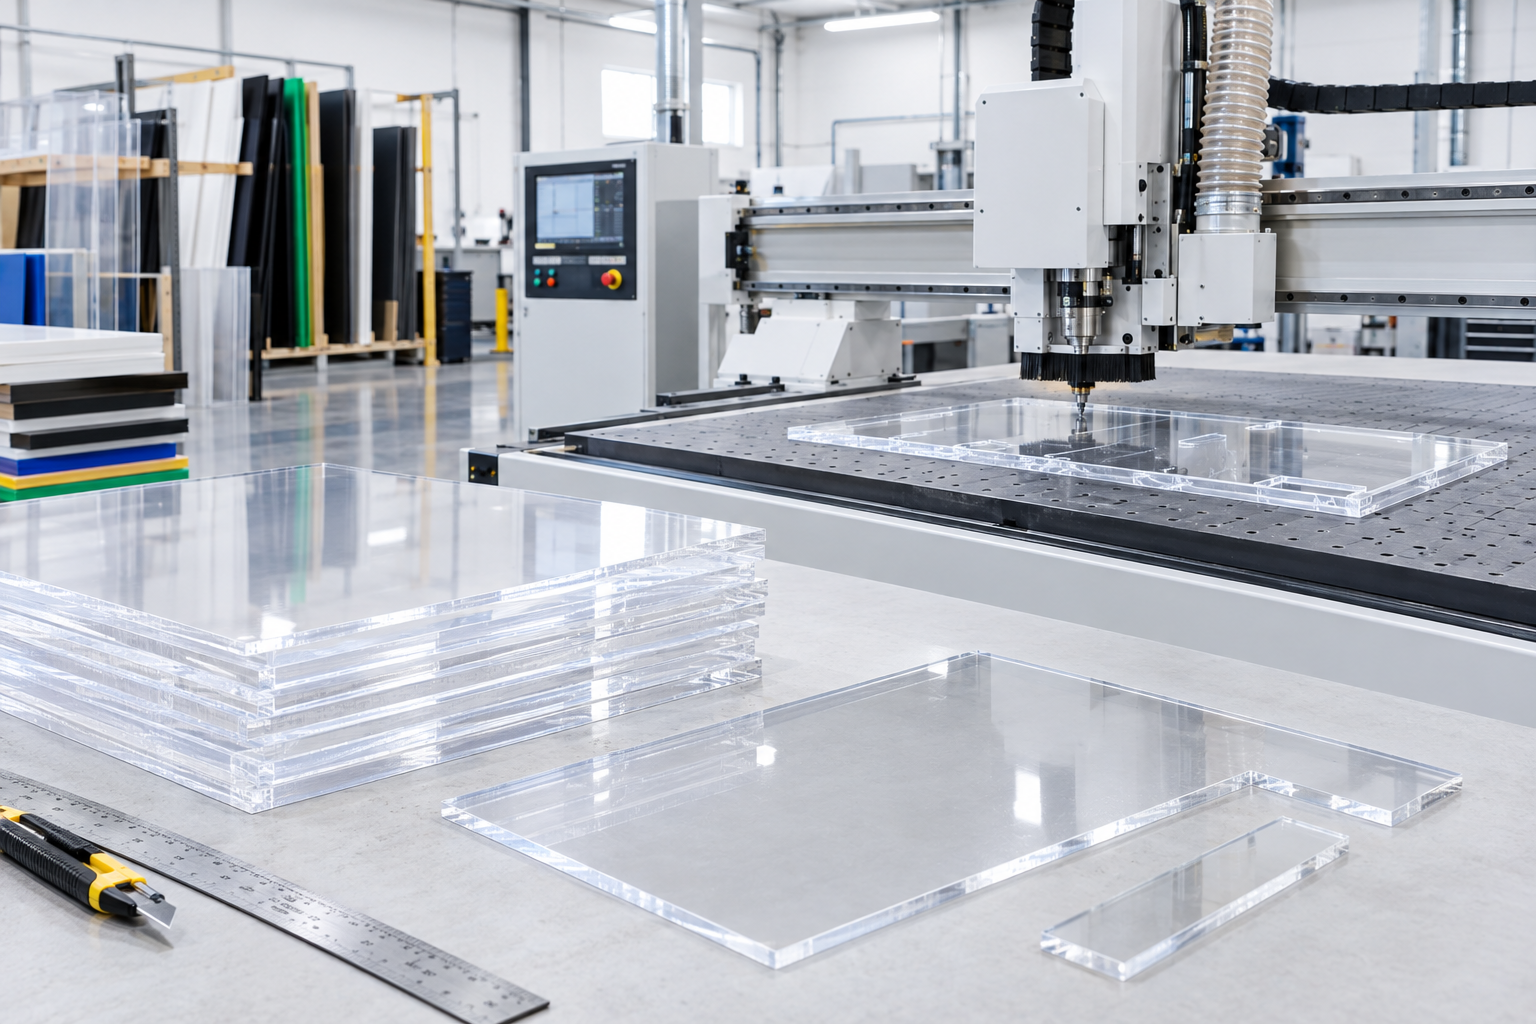
When your design has tight radii, internal cut-outs, intricate profiles or you need many identical parts, machine cutting is the better option. Our CNC router cutting handles consistent profiles in a range of thicknesses, while laser cutting is well suited to fine detail and a flame-polished edge straight off the machine.
Finishing the Edge
A sawn edge will look frosted and may show small tool marks. Start by scraping the edge square with a scraper or the edge of a blade, then sand with progressively finer wet-and-dry paper. For a clear edge, finish with a polishing compound on a buffing wheel. Take care with heat, as polishing too aggressively can soften the surface and cause stress that leads to crazing later, especially if the part will be glued.
Common Mistakes When Cutting Perspex
Most problems come down to a short list of causes:
Melting and gumming: the feed rate is too slow, the speed is too high or the blade is blunt. Increase the feed or reduce the speed, and replace worn blades.
Chipping: the blade is too coarse, or the sheet is vibrating. Use a finer blade and clamp the sheet closer to the cut.
Cracking: usually from clamping too hard, cutting sharp internal corners or stress in the sheet. Drill a small radius at internal corners and use padded clamps with moderate pressure.
Scratches: removing the film too early or dragging the sheet across a dirty bench. Leave the film on until the job is finished.
When to Have Perspex Cut for You
Cutting a single small panel is a reasonable DIY job. Larger sheets, thick material, tight tolerances, polished edges or multiple identical parts are where a professional service pays off in time and material. Our plastic cut to size service takes full sheets and delivers parts to your dimensions, saving you the risk of wasting a sheet on a bad cut.
Need Perspex cut cleanly to size? Send us your dimensions or drawings and request a quote from the Holland Plastics team in Molendinar.
How to cut Perspex sheets
Step 1: Mark your cut line on the protective film
Leave the protective film on and measure carefully. Mark the cut line with a fine marker or a scribe line on the film, and use a straightedge for long straight cuts. Check your measurements twice before you cut.
Step 2: Choose the right cutting method for the job
Score and snap thin sheet for straight cuts. Use a fine-tooth jigsaw for curves and cut-outs, a carbide-tipped circular or table saw for long straight cuts in thicker sheet, and a router for precise edges and repeat shapes. For complex profiles, outsource to a CNC router or laser cutter.
Step 3: Support and clamp the sheet
Clamp the sheet firmly to a flat, stable bench with the cut line just beyond the edge of the support. Use padding such as scrap timber or rubber under the clamps. An unsupported or vibrating sheet is the main cause of chipping and cracking.
Step 4: Make the cut at a steady speed
Let the blade reach full speed before it contacts the sheet, then feed at a steady, moderate pace. Do not force the tool and do not stop mid-cut, as this builds heat and can melt the edge. For scoring, make several firm passes, then snap the sheet over the bench edge in one smooth motion.
Step 5: Finish and smooth the cut edge
Remove burrs with a scraper or the edge of a utility blade held at 90 degrees. Sand through progressively finer grits, using wet-and-dry paper if you want a clean finish. For a clear, polished edge, buff it or use a polishing compound.
Step 6: Clean the part and remove the film
Wipe away dust and swarf with a soft cloth and mild soapy water. Peel the protective film only once all cutting, drilling and finishing is complete to keep the faces scratch-free.
Frequently asked questions
Can I cut Perspex with a utility knife?
On thin sheet, yes, but you need a purpose-made acrylic scoring tool rather than a standard blade. Score a deep, straight groove along a straightedge with several passes, then clamp the sheet with the score line at the bench edge and snap it down. Thicker sheet should be sawn or routed instead.
What type of blade is best for cutting Perspex?
Use a fine-toothed blade designed for plastics or non-ferrous metals. For circular and table saws, a carbide-tipped blade with a triple-chip grind gives the cleanest edge. For jigsaws, use a fine-tooth blade made for plastics and keep the speed moderate so the cut doesn't melt and re-weld behind the blade.
Why does Perspex melt or chip when I cut it?
Melting is caused by heat from a blunt blade, a feed rate that is too slow or a speed that is too high. Chipping usually comes from a coarse blade, an unsupported sheet or too much vibration. Clamp the sheet firmly, use the right blade and keep a steady feed to avoid both.
Should I leave the protective film on when cutting?
Yes. Leave the film on while marking and cutting, as it protects the surface from scratches and from the base of the saw or jigsaw. Peel it back only along the cut edge if you need to see your line or finish the edge.
Can Holland Plastics cut Perspex to size for me?
Yes. Holland Plastics offers plastic cut-to-size, CNC router cutting and laser cutting from its Molendinar workshop on the Gold Coast. Send your dimensions or drawings through the quote form and the team will advise on the best cutting method for your sheet thickness and shape.